
今更ではありますがNicehash Minerのインストール手順を作成しました。
初心者の方にもイメージを持ってもらえるように画像主体にしていますので
マイニングの手軽さを感じてもらえれば、ありがたいです。
※GPUを搭載したWindowsマシンがある前提です^^
マイニングマシンに課する記事は こちら から。
ダウンロード
下記のURLを開きます。
Nicehash Download Center
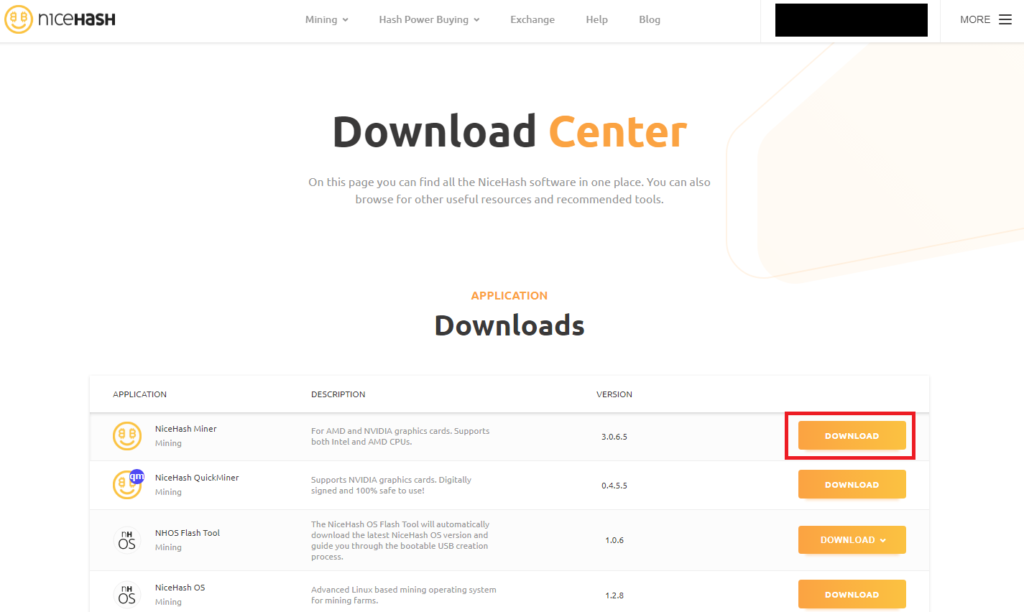
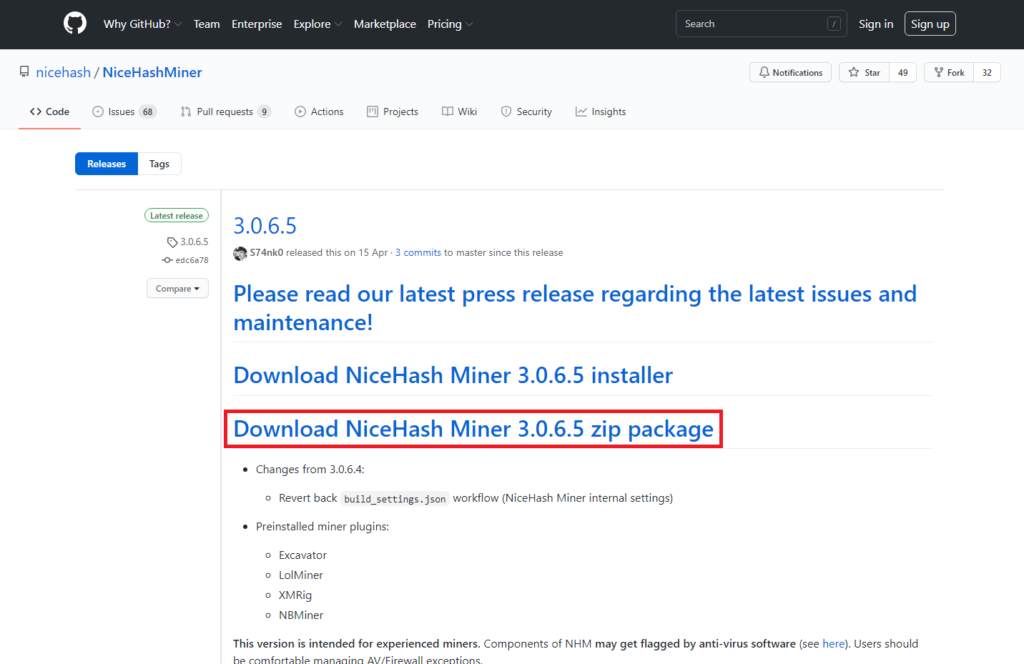
任意の場所にダウンロードします。
※ウイルス対策ソフトによってはダウンロードを拒否されるため、
一時的に無効にしたりしてください。

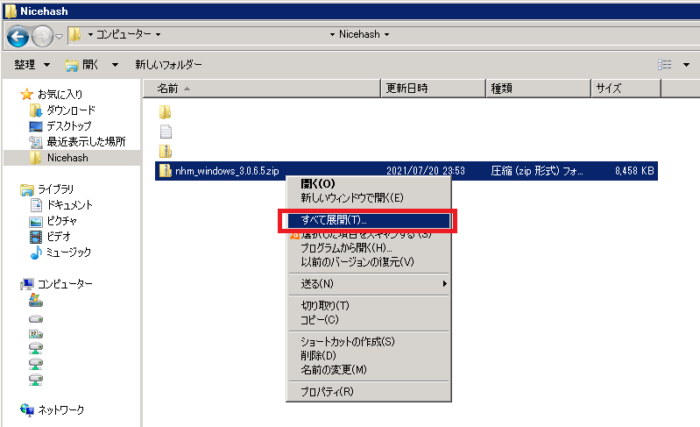
ダウンロードしたZipファイルを「右クリック」して「すべて展開」を選択します。
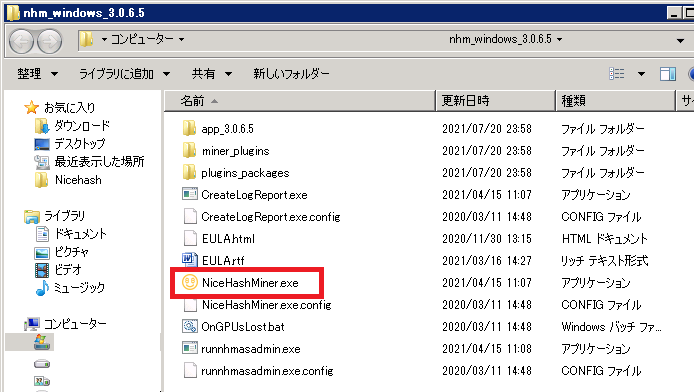
Nicehashの初期設定
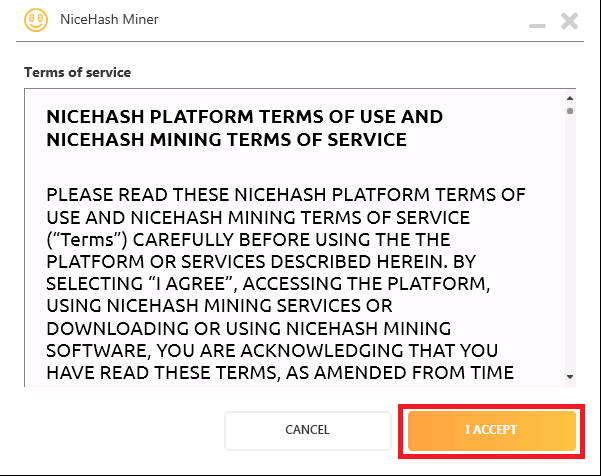
「NiceHashMiner.exe」を実行する。
「I ACCEPT」を選択します。
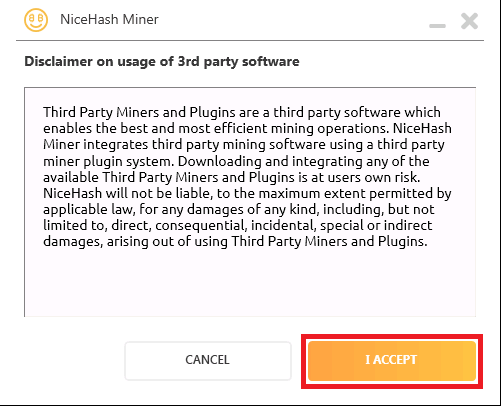
「I ACCEPT」を選択します。
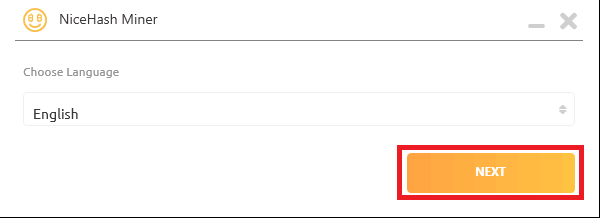
「English」を選択します。
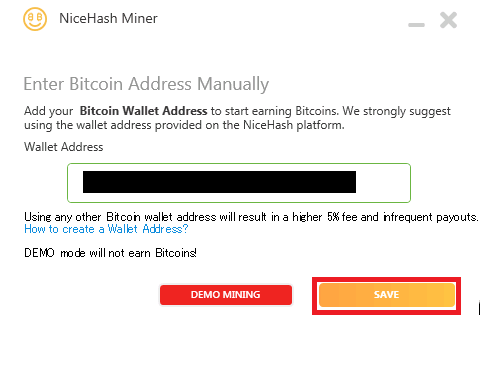
空欄にNicehashのWallet Addressを入力します。
※アドレスは wallets>Deposit>SHOW(BTC)ADDRESS で確認できます。

「SAVE」を選択します。
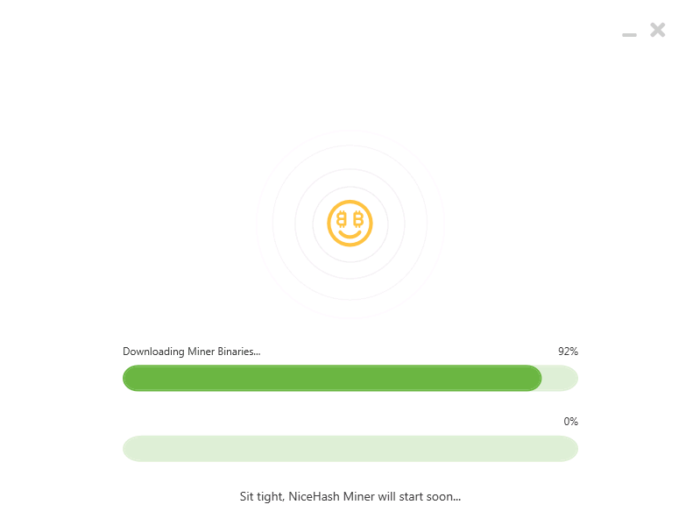
下記のようにソフトウェアの追加ダウンロードが始まります。
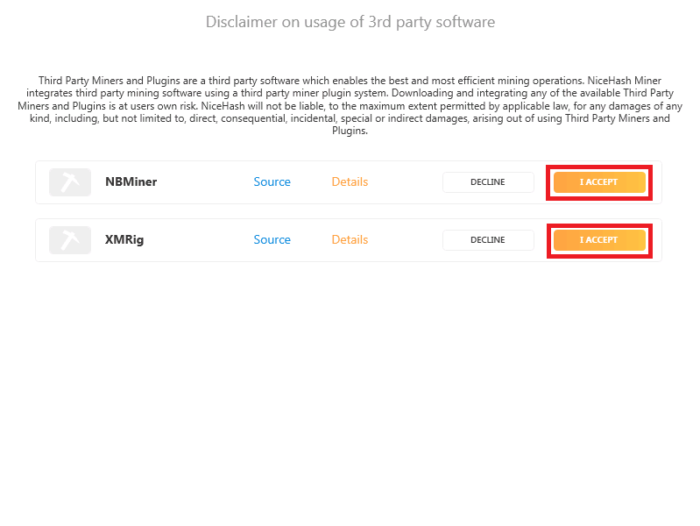
サードパーティ製のツールを利用するかどうか「I ACCEPT」を選択します。
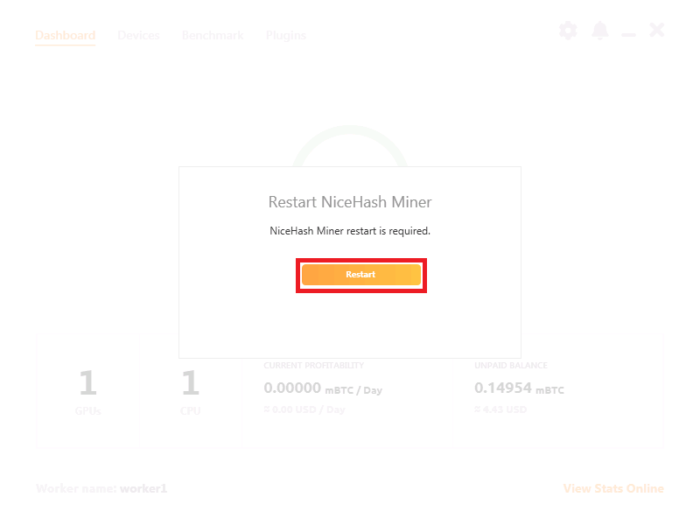
「Restart」を選択し、ソフトウェアを再起動します。
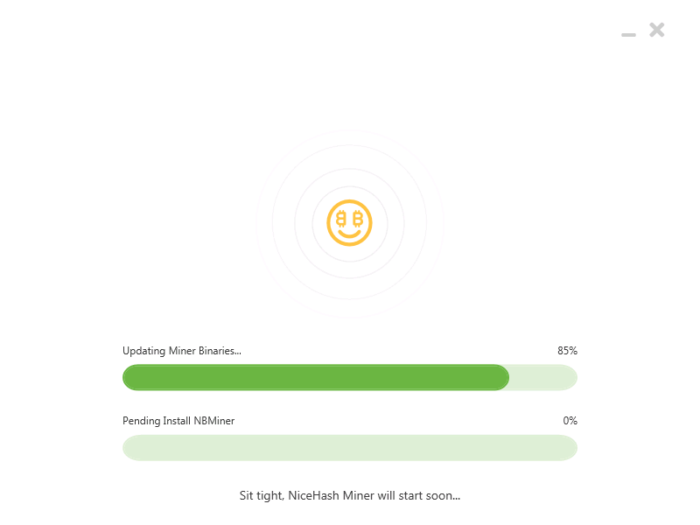
再起動時にソフトウェアの更新が実行されます。
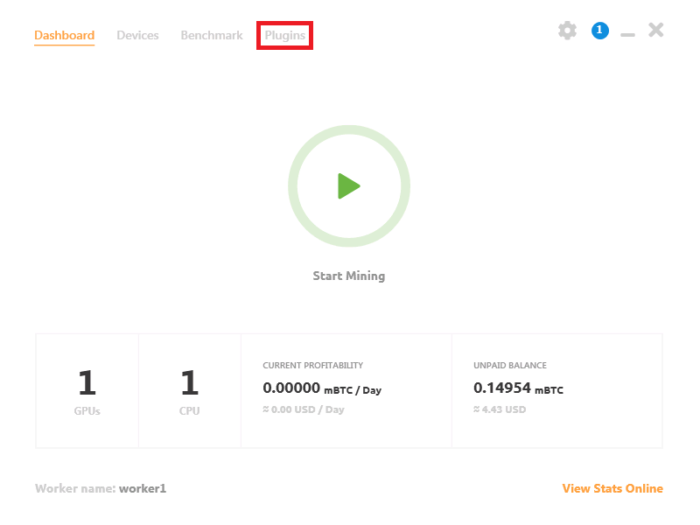
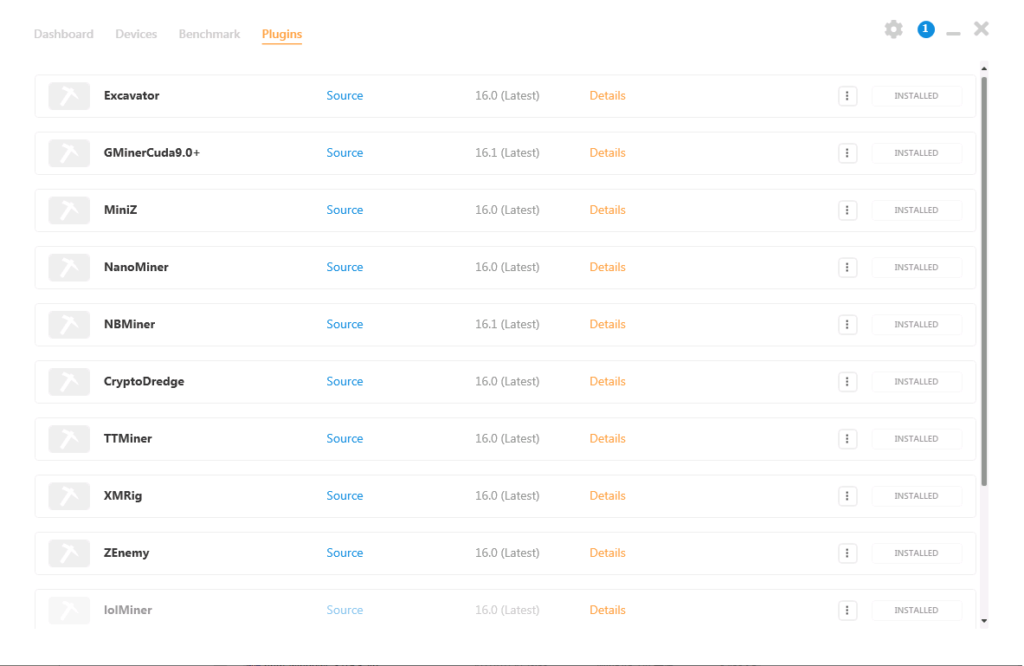
下記のような初期起動画面が表示されます。「Plugins」を選択します。
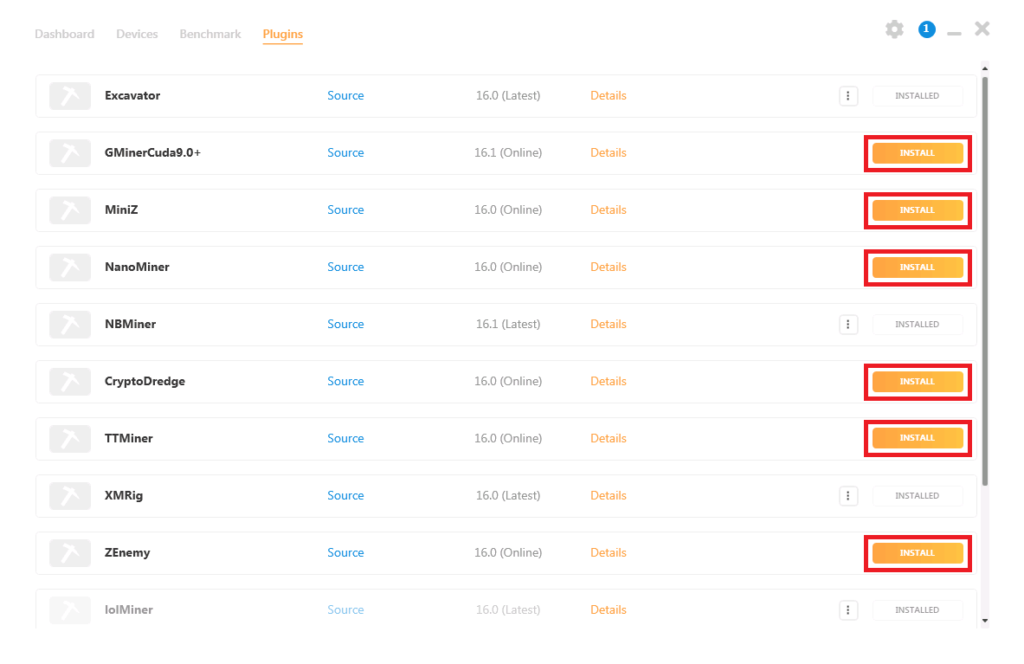
必要なPluginに対して「INSTALL」を選択します。
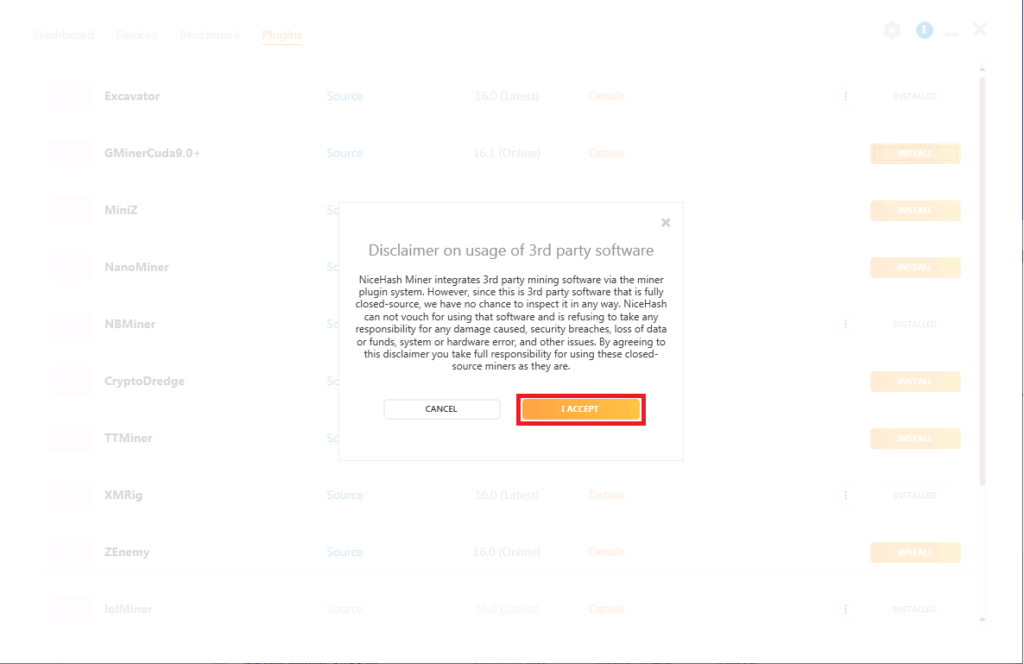
サードパーティのソフトウェアを使うために「I ACCEPT」を選択します。
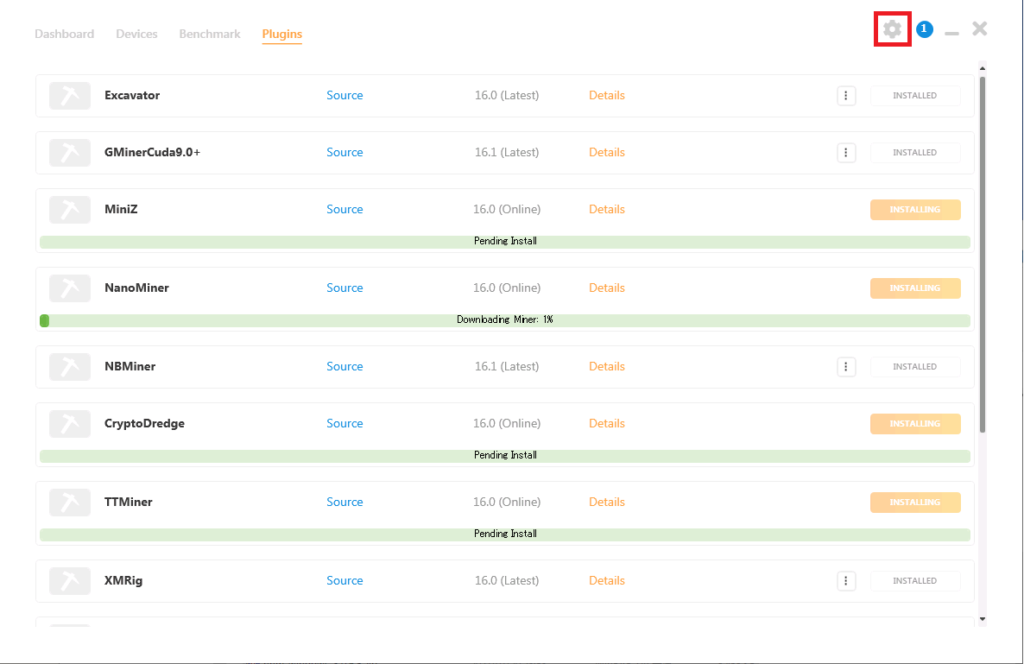
インストールが進み完了することを待ちながら、右上の「歯車」を選択をします。
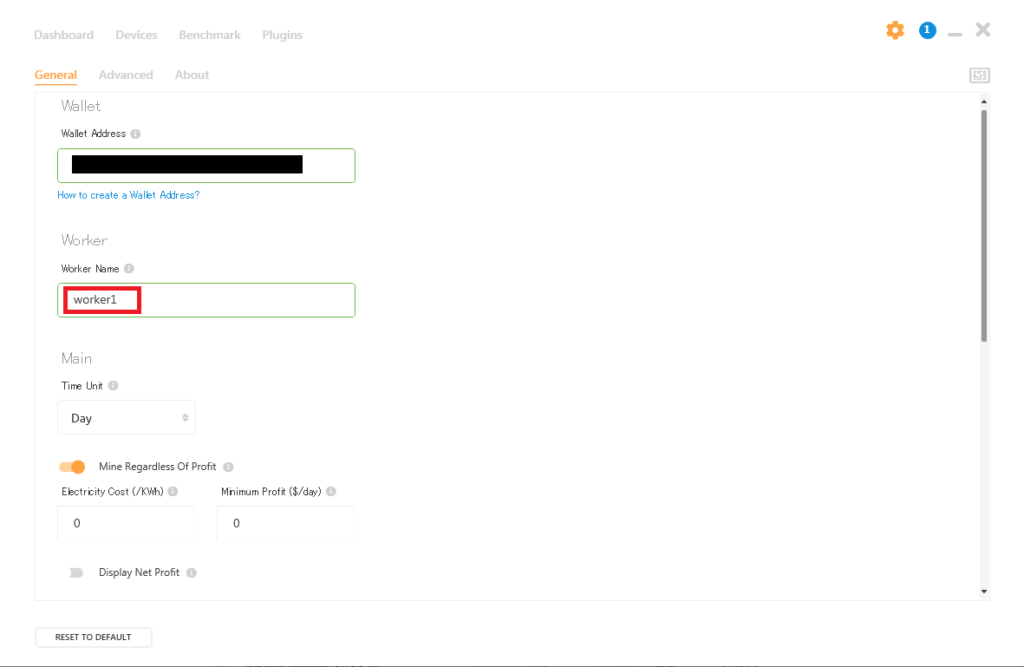
右上の「歯車」をクリックし、各種設定を変更します。
※Woker Nameには、認識しやすい任意の名称を入力します。
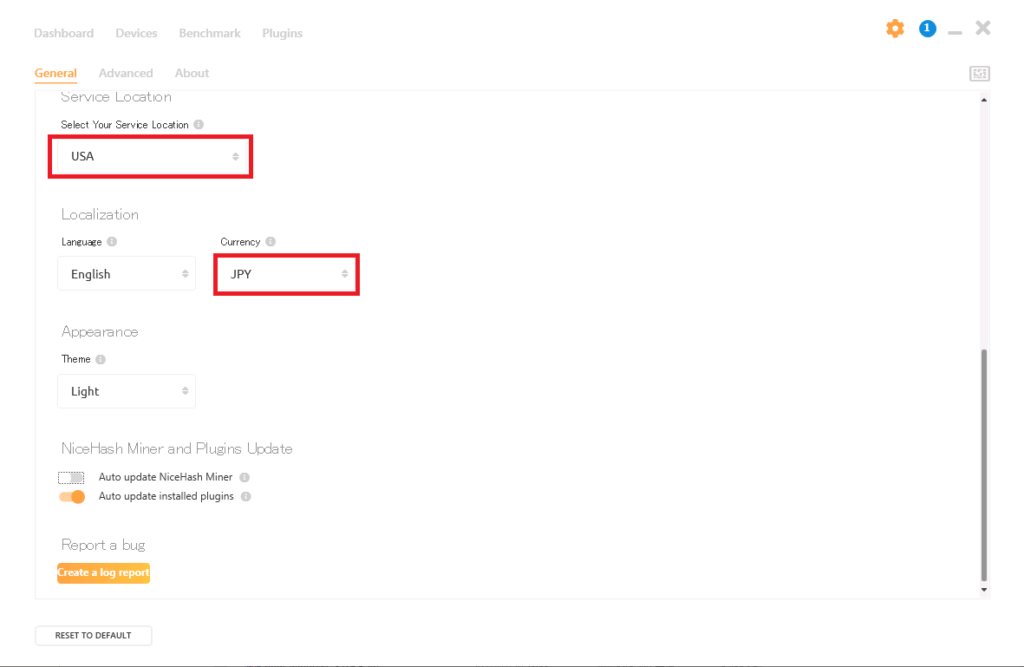
画面を下にスクロールし、追加設定変更します。
※Locationには、任意のサイトを選択します。不明であればデフォルトでOK。
※Currencyについては、「JPY」を選ぶと円で表示されます。
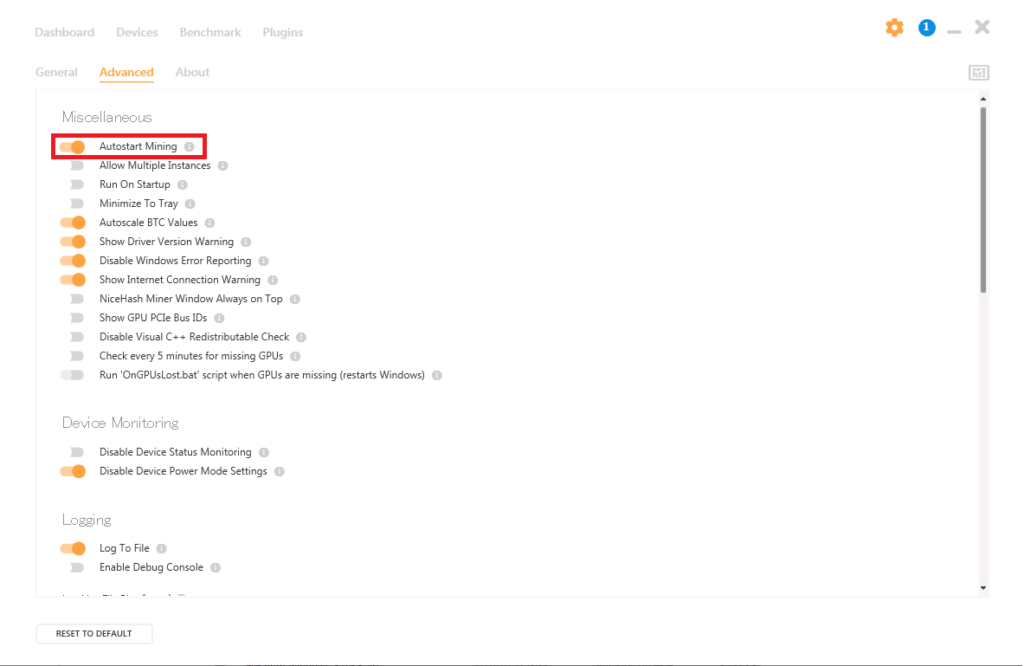
「Advanced」を選択して「Autostart Mining」を選択します。
※Nicehash Minerを起動と同時にマイニングがスタートするための設定です。
再度「Plugins」を選択し、インストールが完了していることを確認します。
ベンチマーク
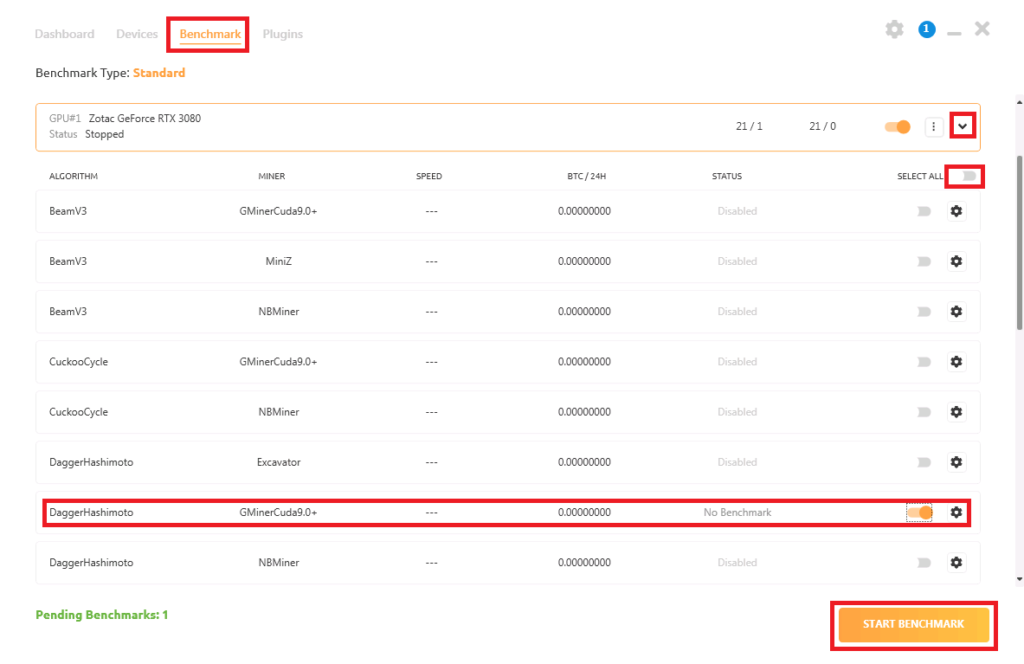
「Benchmark」を選択し、対象のGPUの「↓」を開きます。
「SELECT ALL」で全て無効にした上で、必要なものだけ有効化し、
「START BENCHMARK」を選択します。
※下記では、Geforceでマイニング効率の高い「DaggerHashimoto」を選択しています。
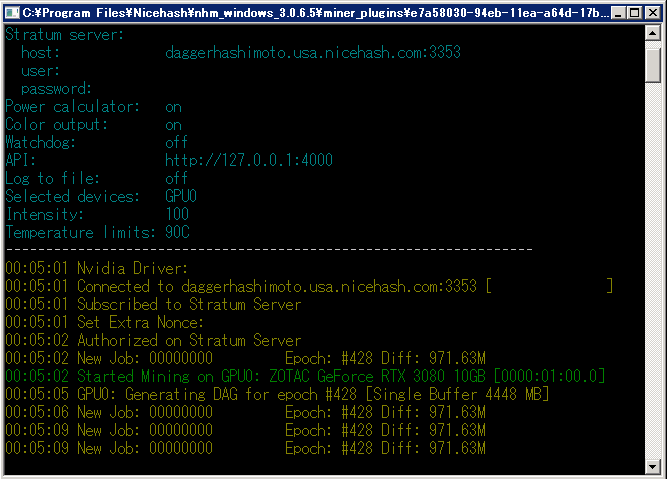
場合のよってWindows Firewallの問い合わせが表示されるため、「許可」を選択します。

マイニング中の画面
ベンチマークが終了すると、下記のような画面が表示されマイニングが開始されます。
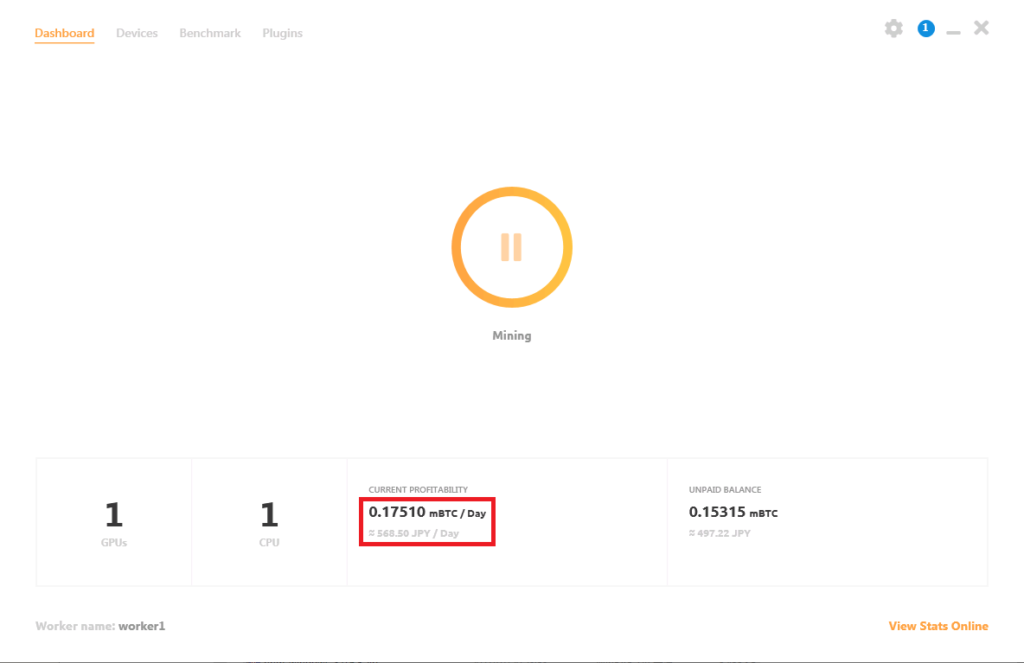
Nicehash Minerの画面は下記の通りになっており、収益が出ていることが確認できます。
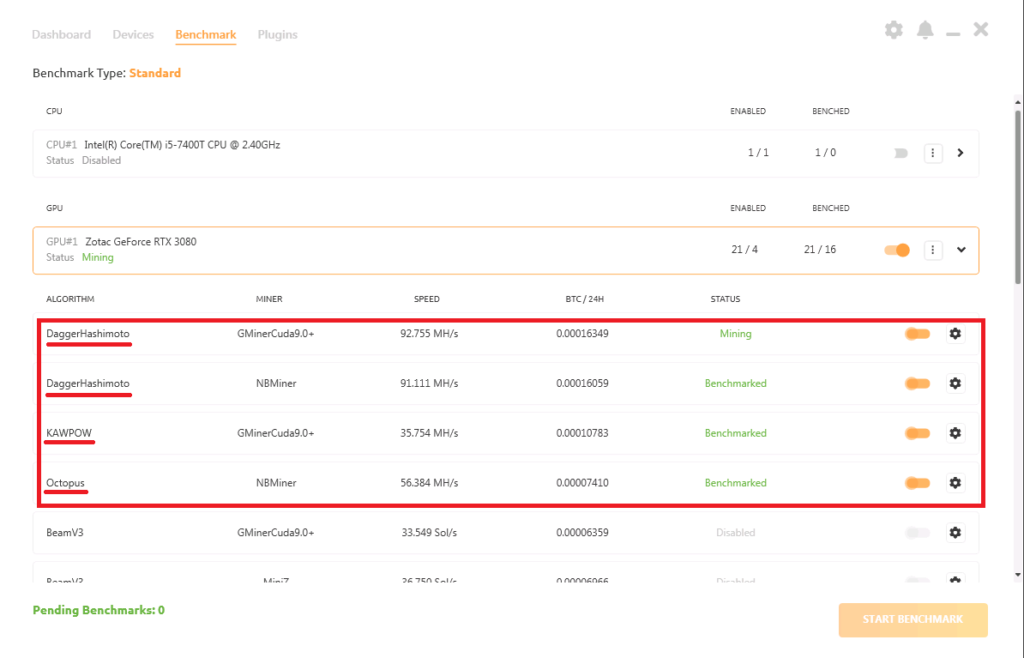
追加ベンチマーク
なお、必要に応じて追加でベンチマークを実行しておくと、
自動的にアルゴリズムやツールを変更してくれます。
以上

コメント